Learn This DIY Hack To Refinish Your Hardwood Floors!
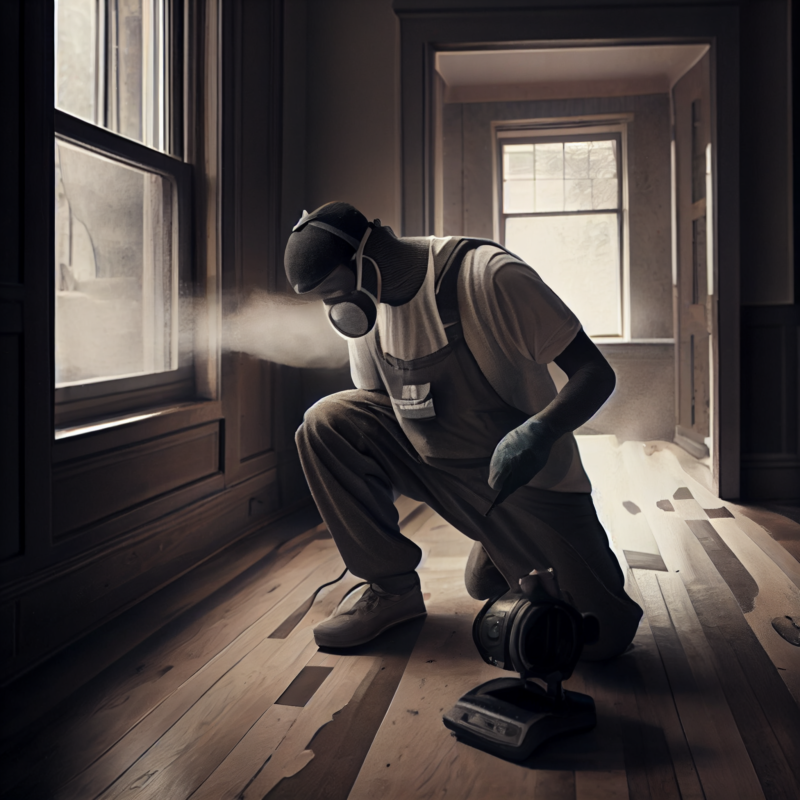
DIY Guide: Refinishing Hardwood Floors
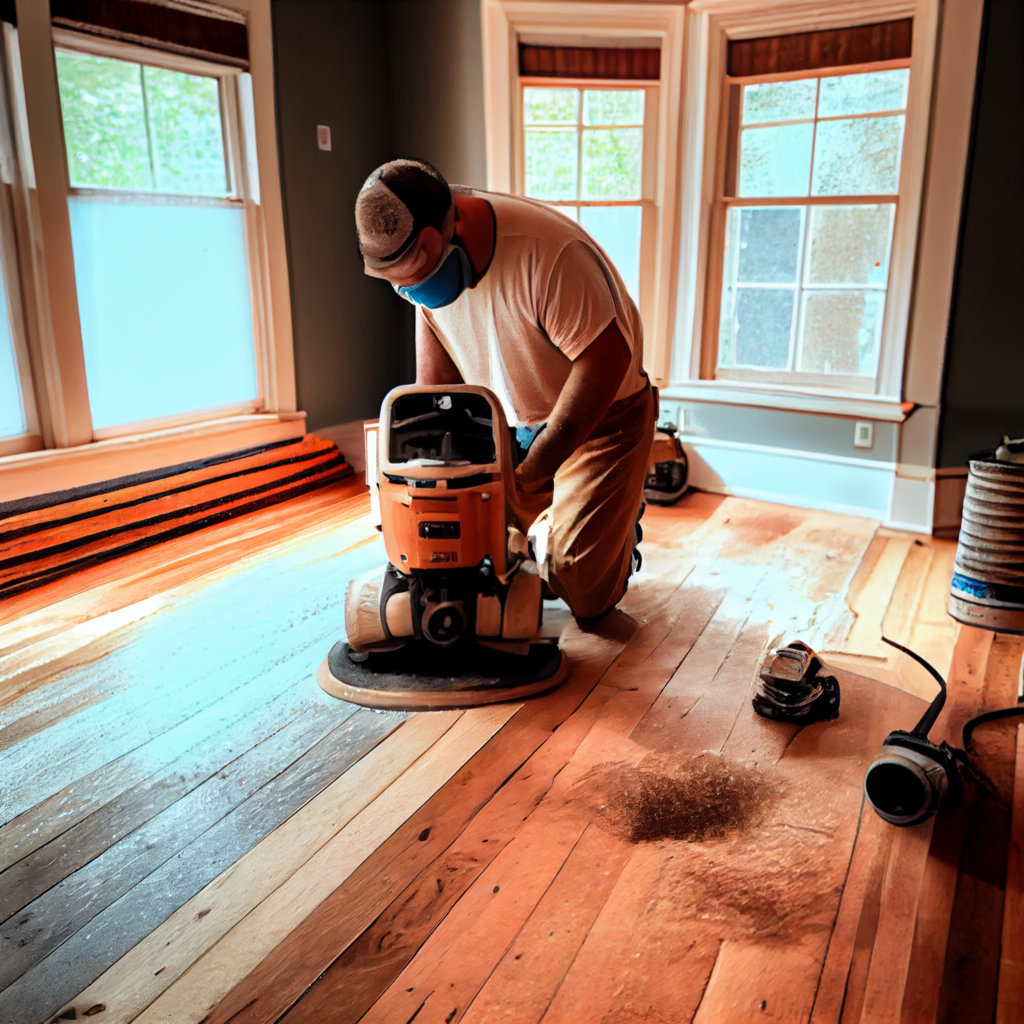
When it comes to making your home look and feel good, refinishing hardwood floors can make an enormous impact. It adds value to the property, can be done within a week or so, and also gives you immense satisfaction when it’s completed. But how do you refinish hardwood floors yourself? It’s quite a bit of work, but with the right equipment and determination, you can learn DIY refinishing hardwood floors.
First up, it’s important to determine what type of flooring you have. Hardwood flooring can come in a few forms, such as laminate, engineered wood, and solid wood. And each type of flooring requires a different approach to refinishing.
Types of Flooring That Can’t Be Refinished
If you have laminated wood flooring, unfortunately you won’t be able to refinish this type of flooring due to its synthetic material. Though there are methods of recoating that use chemical abrasives, flooring professionals do not recommend them.
On the other hand, according to Keystone Hardwood Floor Care, engineered wood flooring can be refinished once or twice, as long as the real hardwood layer is thick enough to sand down without reaching the plywood layer underneath.
Solid hardwood is the most reliable option for refinishing, as it has a top-to-bottom hardwood layer. You won’t have to worry about hitting any hidden layers as you sand away the old finish. However, make sure there is plenty of wear layer left to be sanded. The wear layer is the wood above the tongue and groove. The best way to find how much thickness is left is by view a profile of the hardwood floor via register or vent.
Plan Ahead – Segment Tasks in Order
Once you’ve determined your floor type, the process for refinishing hardwood floors can begin.** Be sure to break up the project into segments, so you aren’t overwhelmed by the entire project at once.**
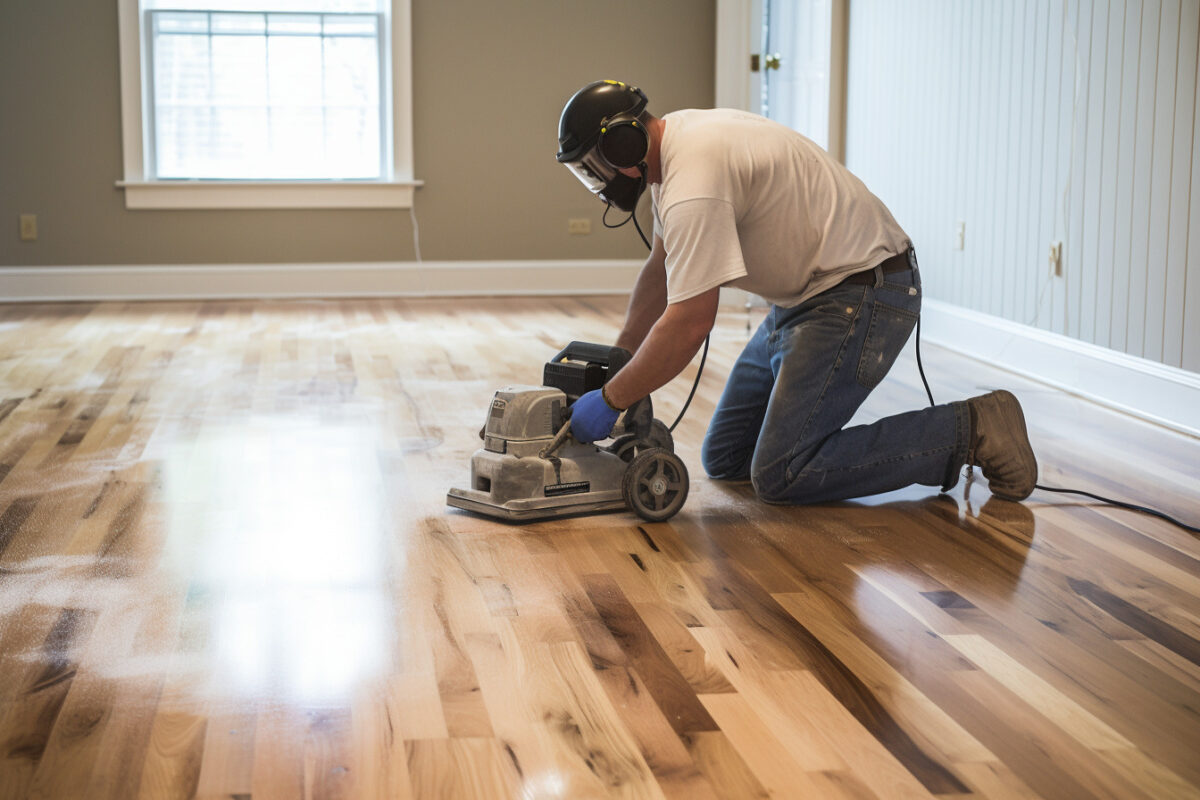
First, remove furniture from the room, then sweep the floor with a broom or vacuum to get rid of the dust and other debris. Next, you’ll need to fill any gaps between the planks with wood putty. After the putty has set, use a coarse sandpaper pad to remove any existing finish. Move the sandpaper in a circular motion to ensure an even finish.
Once you’ve achieved your desired level of smoothness, use a damp cloth to wipe down the floor to remove any remaining residue. At this point, you’ll need to check the moisture content of each plank, as issues can arise if the planks have too much or too little water.
Once that’s all confirmed, it’s time to apply the stain. Choose the type of stain and color that best suits your style and décor. Make sure the coverage is even, using the same circular motion as before. Be sure to stay safe during this process, as most stains and polyurethane products contain hazardous chemicals.
After the stain has dried and the room is ventilated, you’re ready for the final step – adding a coat of finishing oil or polyurethane. If applying polyurethane, use a brush and spread evenly, going with the grain of the wood. Don’t forget to keep the room ventilated.
With these steps, you can easily refinish hardwood floors yourself and enjoy a beautiful, fresh new look for your home. So, take the time to learn how to refinish hardwood floors and complete the project with success.
Once the final layer of oil or polyurethane has been applied, it’s important to let the floor completely dry before walking on it. Depending on the humidity and temperature in your home, this can take anywhere from 8 to 24 hours. To make sure the job is done correctly, check for any blemishes in the finish.
Once the floor is dry, the refinishing process is complete and it’s time to enjoy the gleaming new space! Be sure to keep your newly refinished hardwood floor clean and free of debris. This can be achieved through frequent sweeping and vacuuming, as well as wiping up spills as they happen.
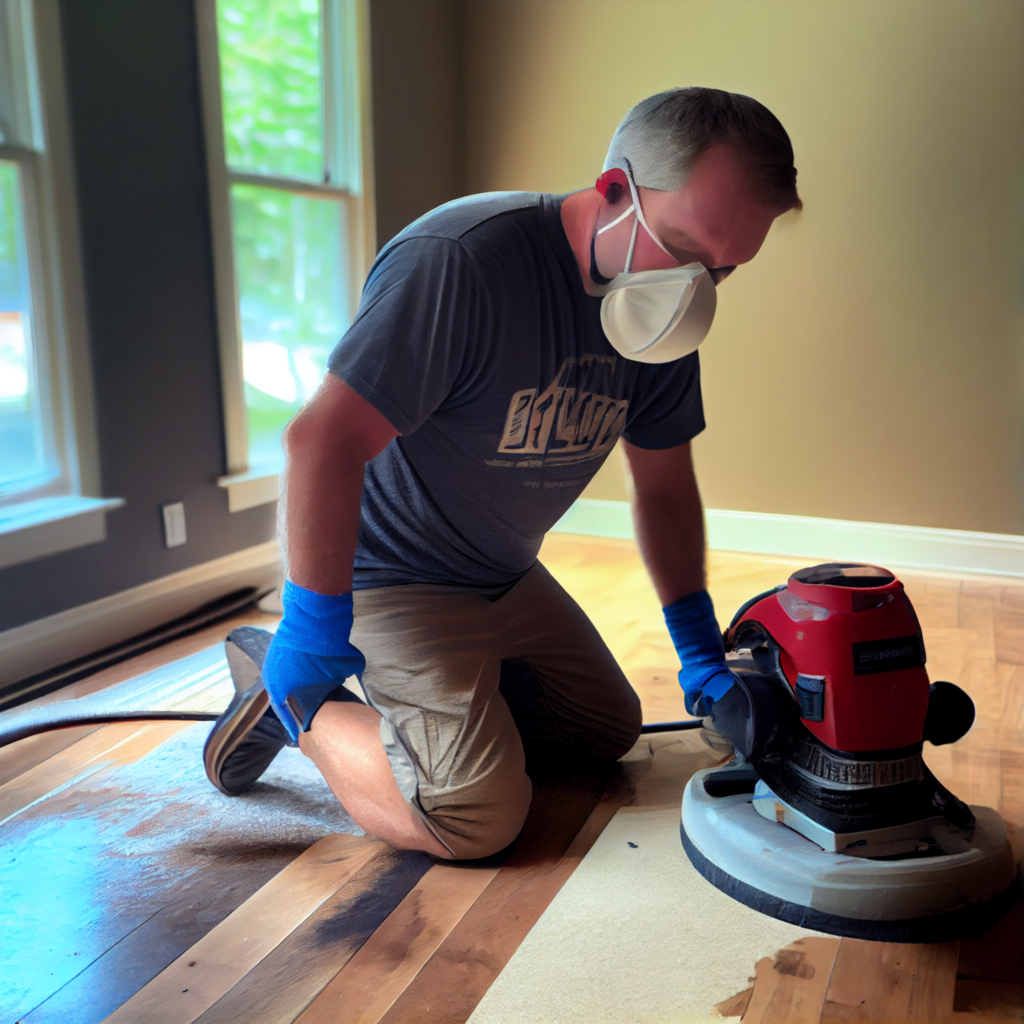
Protect Your Newly Finished Floors
To protect your newly refinished hardwood floors, place mats and rugs in high-traffic areas, such as entries and kitchens. Additionally, put furniture pads and felt sliders on the legs of furniture to prevent scratching and wear.
DIY refinishing hardwood floors is a great way to brighten up any room with minimal effort and cost. However, if you don’t feel confident tackling the project yourself, contact a certified flooring professional for an estimate and advice.
Regardless of whether you DIY or hire a professional, it’s important to maintain your hardwood floor properly. Doing so will keep it looking beautiful and increase its longevity. You should sweep or vacuum regularly to remove grit and dirt that can scratch and dull the floor, and take care when cleaning high-traffic areas.
Humidity Can Damage Wood Floors
Also, be mindful of the humidity and temperature levels in your home as these can impact your flooring. Maintaining a 40-50% humidity level and a relative temperature of 65-80 degrees Fahrenheit are the optimal conditions to ensure your floor looks its best over time.
Another way to keep your hardwood floor looking its best is by waxing and buffing regularly. Waxing seals the floor and helps repel dirt, dust and moisture. Wax application can be done every three months or so, depending upon foot traffic in the home.
By following these steps, you can extend the life of your hardwood floor for years to come. Of course, if you ever have any questions or concerns about DIY refinishing hardwood floors, seek the advice of a professional.
In addition to caring for the floor itself, you can also invest in furniture covers and mats to help you avoid scratches, dents and other types of damage from everyday use. Besides protecting your floor from potential damage, these items can also add warmth and style to the room.
Finally, be sure to inspect hardwood floors for signs of damage regularly. If you do come across any issues, don’t hesitate to call in a professional to assess and fix the problem.
Overall, refinishing hardwood floors is a simple project that can dramatically change the look of your home. Whether you choose to DIY or hire a professional, the following steps will help you create beautiful hardwood flooring that will last for years to come.

Jason Lehr is a seasoned freelance copywriter and research specialist with a passion for crafting compelling content. With over a decade of experience, he has written for a diverse range of clients, including startups, small businesses, and Fortune 500 companies. His expertise spans multiple industries, including Technology, Home & Garden, Home Improvement, and healthcare. Jason's ability to conduct thorough research and distill complex information into clear, concise copy is unmatched. He prides himself on his attention to detail, exceptional communication skills, and commitment to delivering top-notch work. When he's not writing, Jason enjoys traveling and exploring new cultures.
